Creating Views
Click Create View
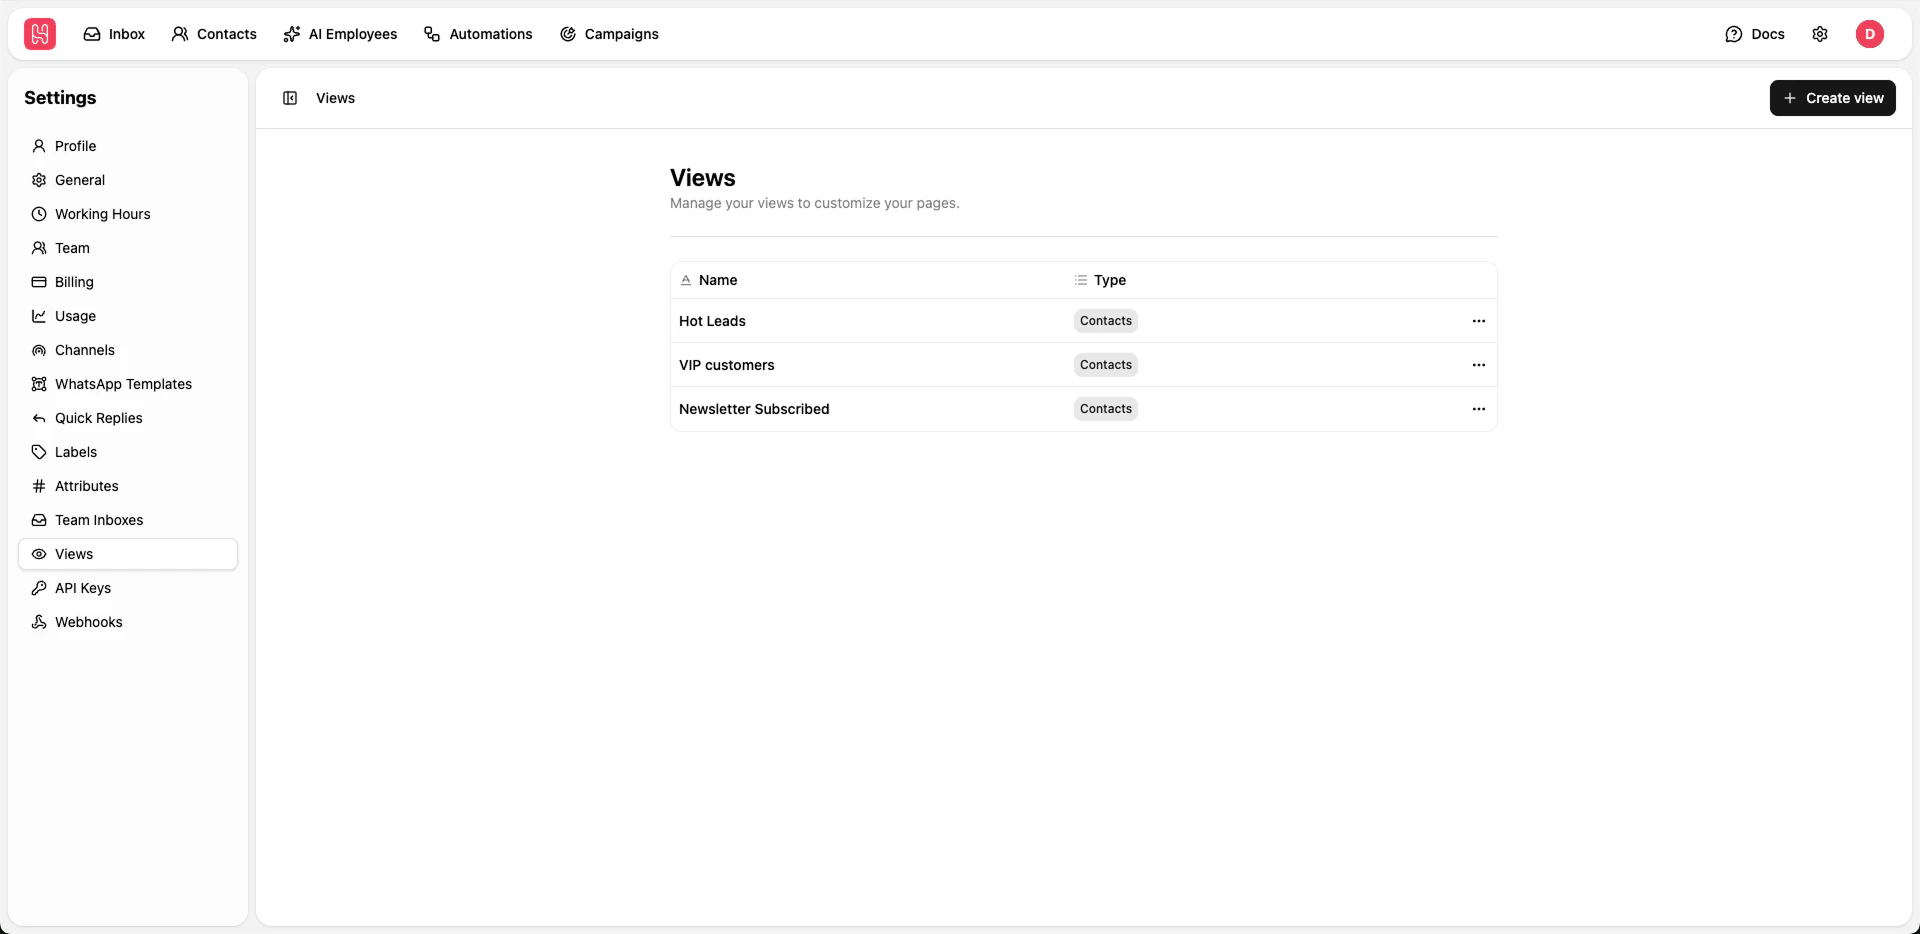
Click + Create view button
Name Your View
Enter a descriptive name
Set Filters
Configure filter criteria to determine which items appear in the view
Save
Save your custom view
Create views to quickly access specific conversation types, such as “Unassigned”, “High Priority”, or “Awaiting Response”.