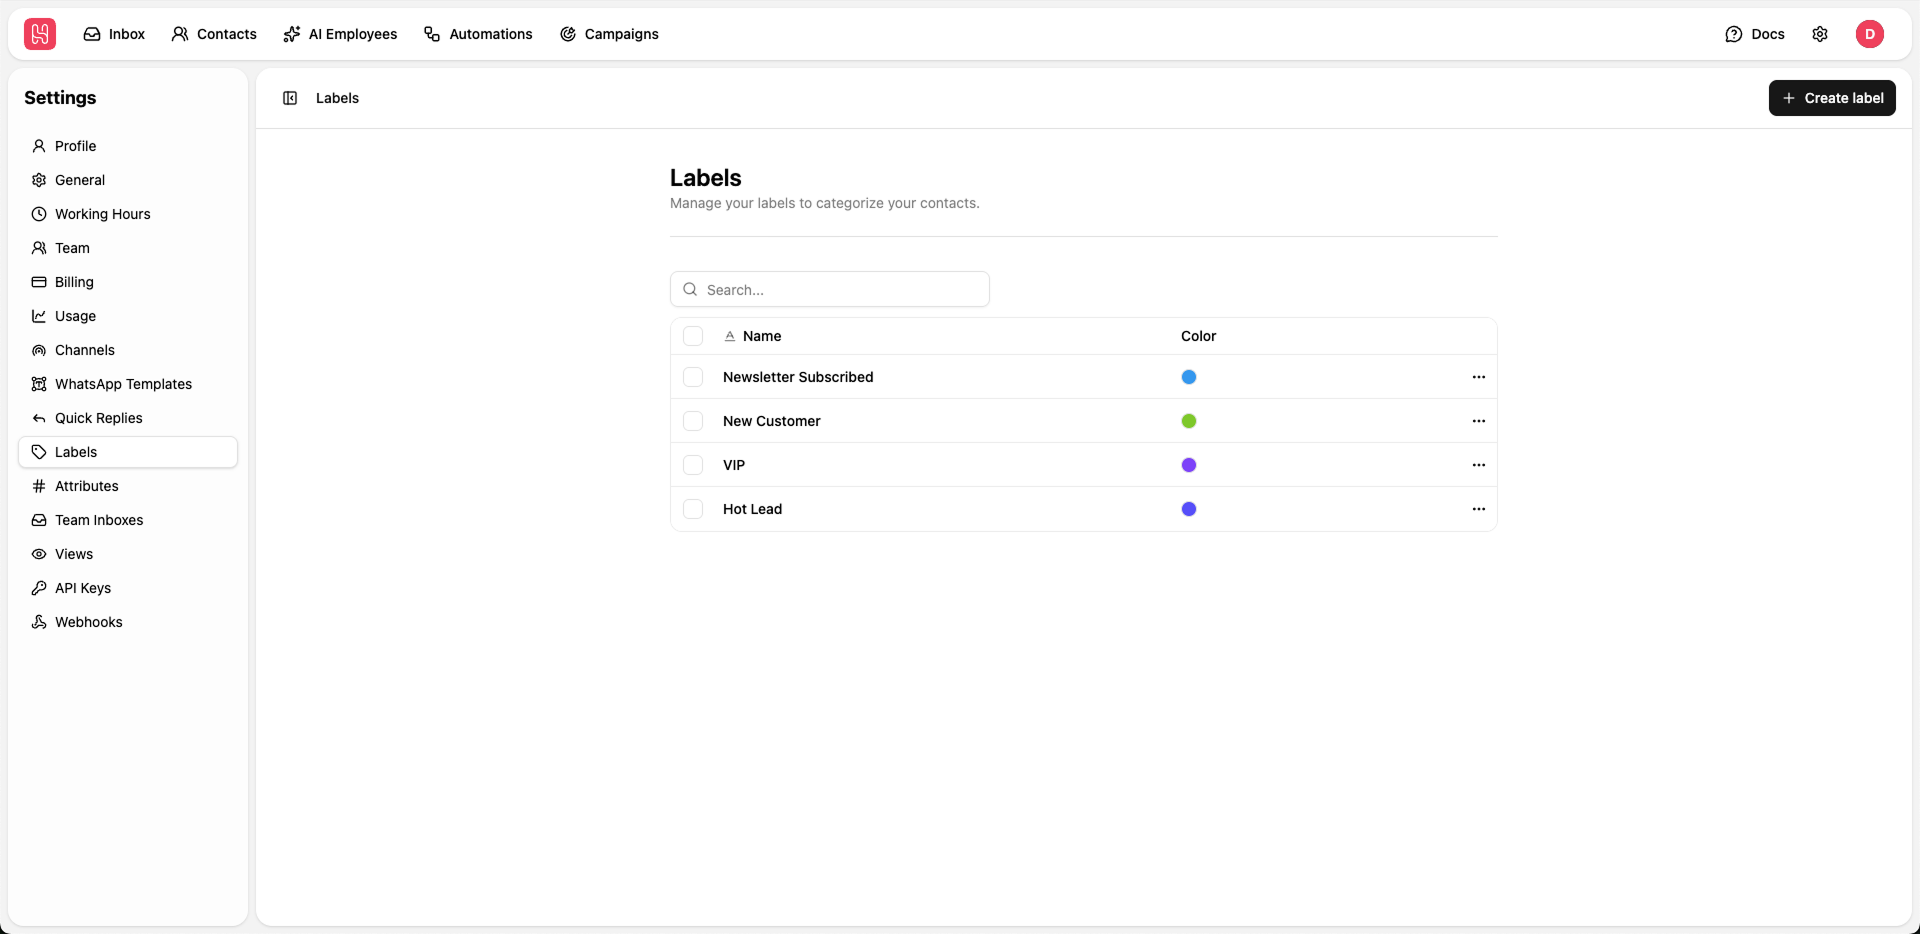
Go to Settings > Labels to manage your labels.
Managing Labels
Labels help your team organize contacts into clear, actionable segments. To manage labels, go to the Labels page in Settings and:Create a Label
- Click ”+ Create label”.
- Enter a clear, descriptive name (for example,
New Lead,VIP, orChurn Risk).
Search Existing Labels
- Use the search bar at the top of the list to quickly find existing labels.
- This is especially useful when you maintain a large number of labels across teams or use cases.
Edit or Delete Labels
- Use the action menu next to each label to rename or remove it.
- Be cautious when deleting labels, as they will be removed from any contacts they were previously applied to.
Using Labels
Apply labels to contacts and conversations to:- Segment your audience by lifecycle stage, interest, or geography.
- Filter contact lists and chat views to focus on specific groups of customers.
- Create targeted campaigns and automations for high-intent or high-value segments.
- Organize leads by status (for example:
New lead,Qualified,Customer).