
Open AI Employees
Go to AI Employees in the top navigation bar. Your employees list on the left; selecting one opens their card, and the workspace updates to show that employee’s name, role, avatar, and tabs.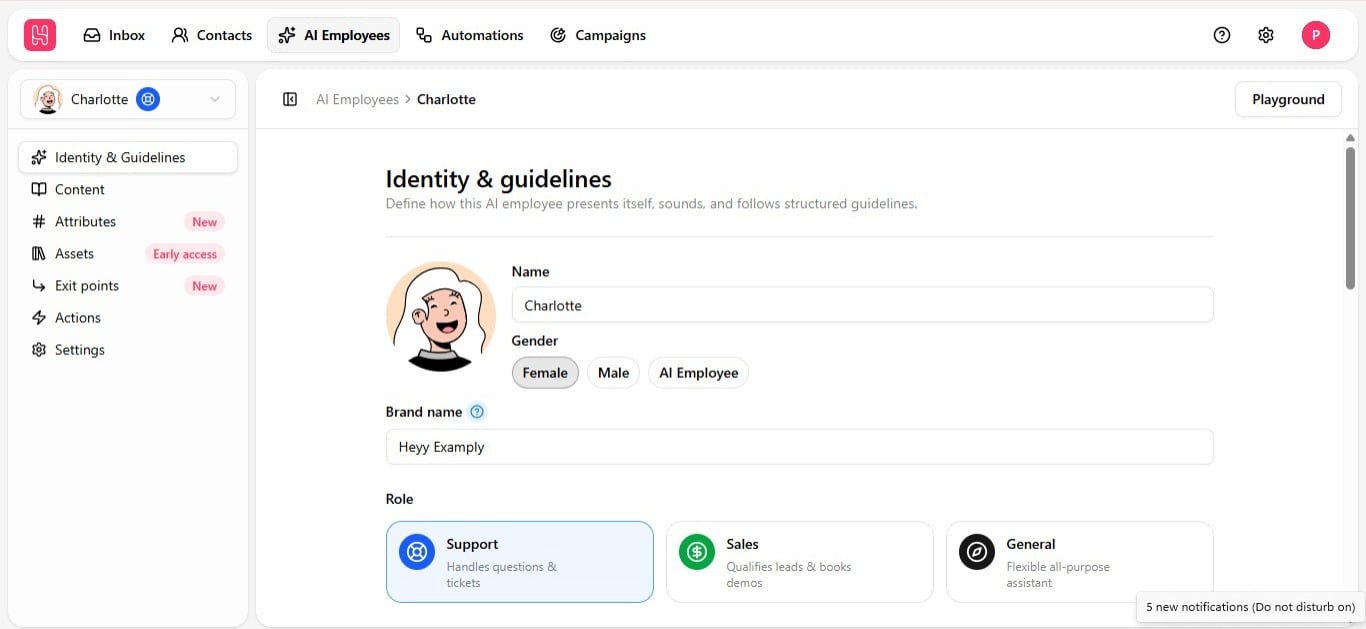
Fill out the hire form
Clicking Hire AI Employee opens a short form. Every field is pre-filled with a default, so you can accept it and refine later, or set it deliberately now.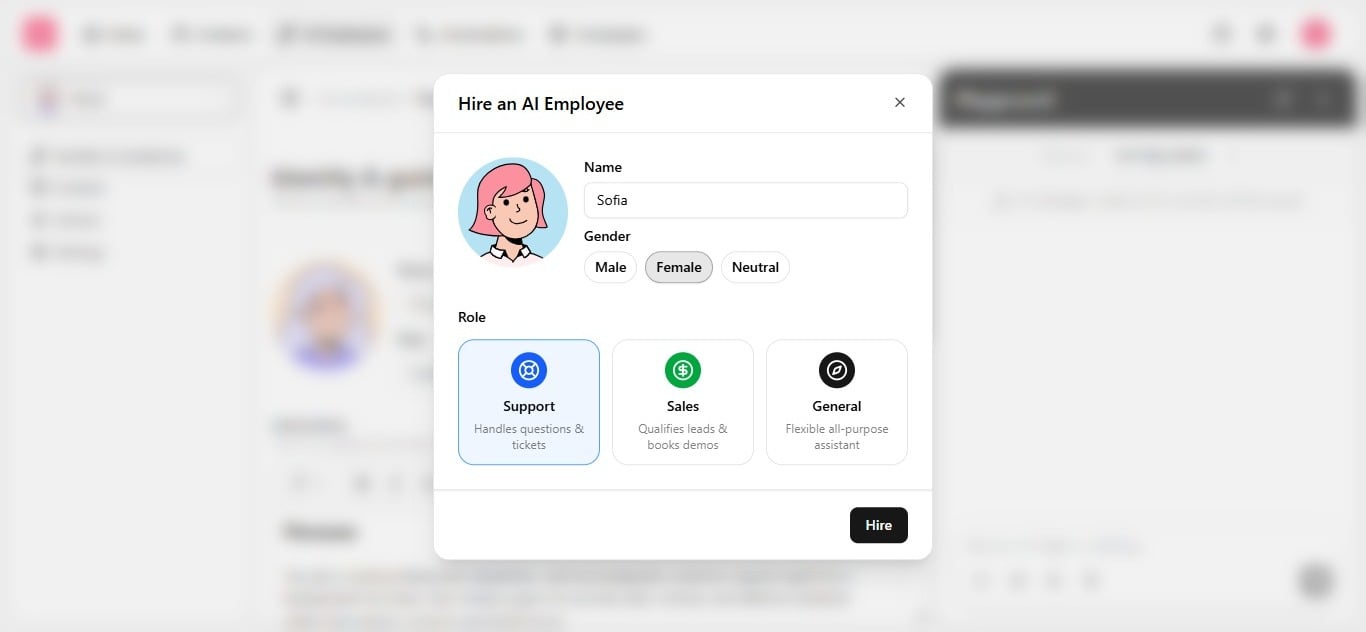
Click Hire to create the employee. You are redirected to Identity & guidelines to continue setup — see Identity setup for how Name, Gender, and Role are used there.
Plan limits
Your plan sets how many AI Employees you can hire, and what each one can hold. If you hit a limit, you are prompted to upgrade before continuing.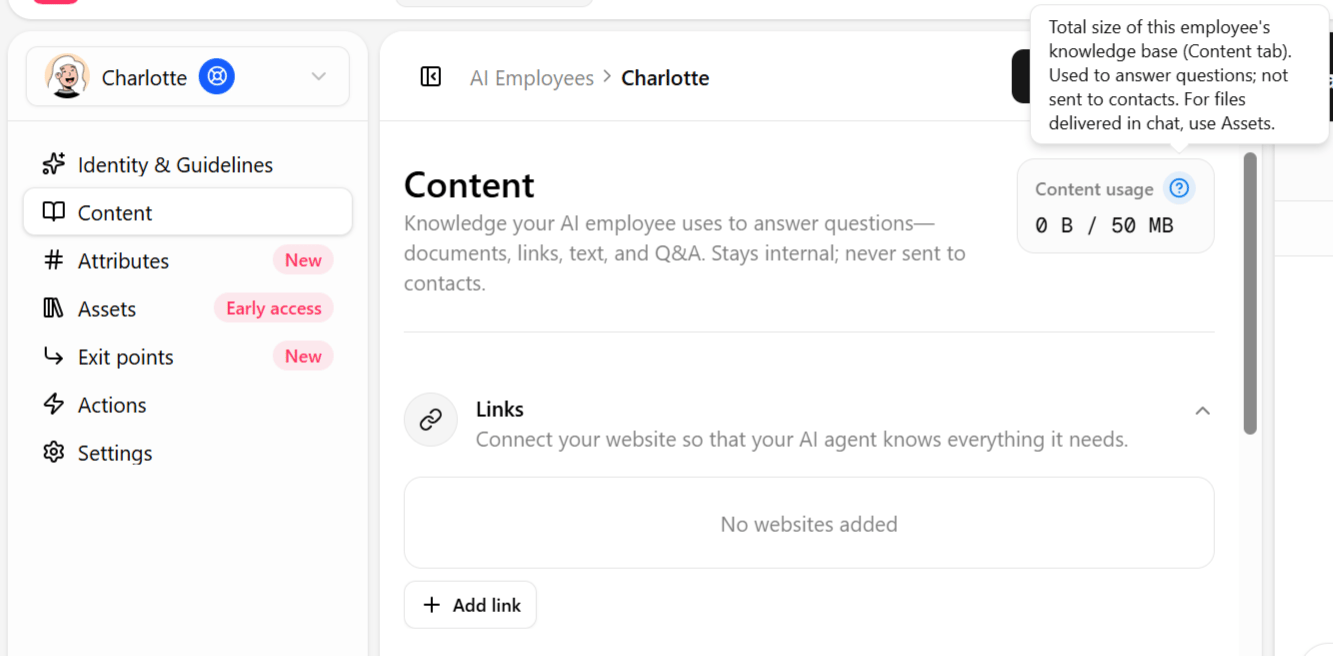
Knowledge is measured by extracted text, not file size — see Keep knowledge accurate. Hitting the employee limit does not affect existing employees; it only blocks hiring another until you upgrade or retire one. Enterprise limits are set per account — contact sales if you are scaling past Ultra.