> ## Documentation Index
> Fetch the complete documentation index at: https://docs.heyy.io/llms.txt
> Use this file to discover all available pages before exploring further.
# Facebook Messenger
> Connect your Facebook Page to handle Messenger conversations in your Heyy Inbox with automations, AI Employees, and campaigns.
 Facebook Messenger lets you handle conversations from your Facebook Page directly in your Heyy [Inbox](/quick-start/inbox). Your customers can message you on Messenger while you use the same [automations](/quick-start/automations/triggers), [AI Employees](/quick-start/ai-employees), [contacts](/quick-start/contacts), and [campaigns](/quick-start/campaigns) as with WhatsApp, Instagram, and Live Chat.
## Requirements
Before you connect, ensure:
* **Admin role**: The user who clicks **Connect** must be an **admin** with access to the Facebook Page you want to connect.
* **Page in Business Portfolio**: The Page must be connected to your [Meta Business Portfolio](https://business.facebook.com). Go to [**Pages** in Business settings](https://business.facebook.com/latest/settings/pages) and confirm the Page is listed there. If the Page is not in your Business Portfolio, add it before starting the onboarding flow.
## Connecting
1. Go to **Settings → Channels** in your Heyy dashboard.
2. Click **Add Channel**.
3. Select **Facebook** (Messenger).
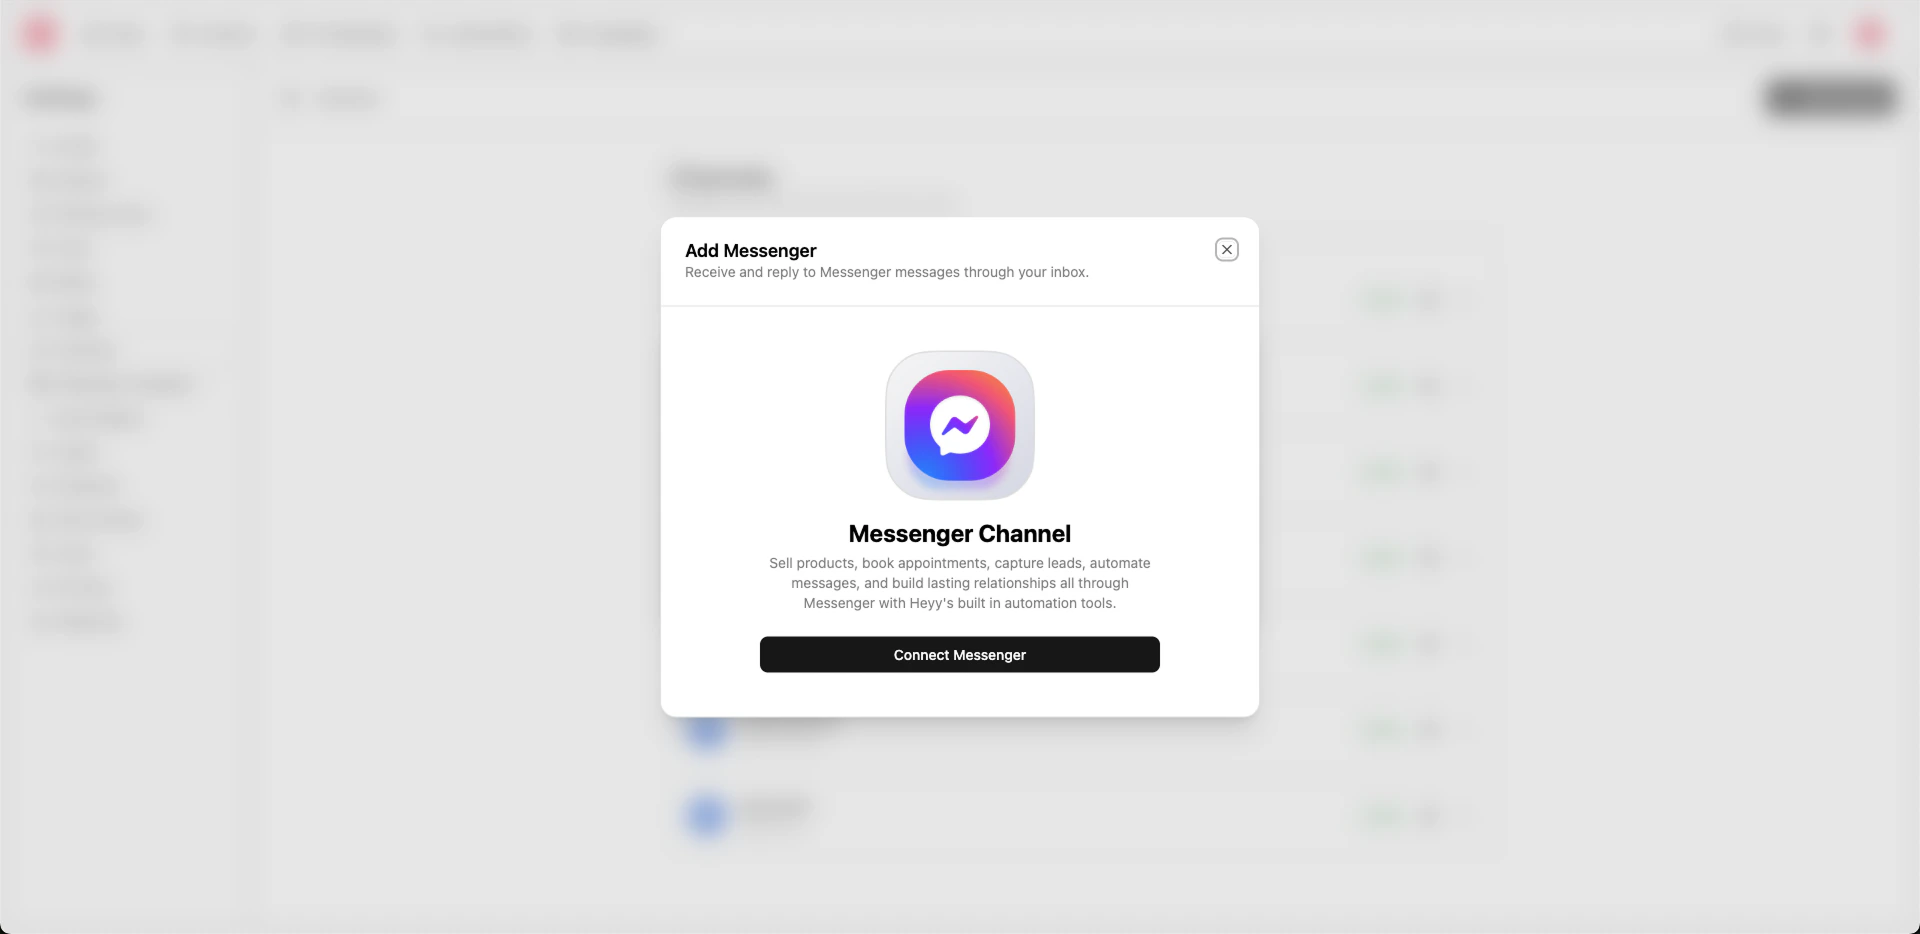
4. Click **Connect** in the dialog.
Clicking **Connect** opens **Meta’s Facebook Messenger onboarding flow**. You’ll be asked to sign in with Facebook (if needed) and to authorize Heyy to manage messaging for your Facebook Page. Complete the flow in the window that opens. When authorization succeeds, Heyy creates the channel and the dialog closes. Your Messenger channel then appears in **Settings → Channels**.
### About Meta’s onboarding flow
Heyy uses [Login Connect with Messenger](https://developers.facebook.com/docs/facebook-login/login-connect/) so you can connect your Facebook Page to Heyy in one step. During the flow, Meta may ask you to:
* Sign in to Facebook or confirm your account.
* Choose the **Facebook Page** you want to connect (you must have admin or appropriate access to that Page).
* Grant Heyy permission to send and receive messages on behalf of that Page.
For more on the Messenger Platform and requirements (e.g. Page, app, permissions), see Meta’s documentation:
* [Messenger Platform overview](https://developers.facebook.com/docs/messenger-platform/overview/)
* [Messenger Platform getting started](https://developers.facebook.com/docs/messenger-platform/getting-started/quick-start/)
* [Login Connect with Messenger](https://developers.facebook.com/docs/facebook-login/login-connect/)
If the connection fails or you don’t see your Page, check that your [Meta Business Portfolio](https://business.facebook.com) and [Business Info](https://business.facebook.com/latest/settings/business_info) are complete, and that you have the right role on the Page. For help, [contact Heyy support](https://heyy.io/contact-us).
## Editing
Open the channel from **Settings → Channels** and use the **Profile** tab.
### Profile
* **Internal name**: A label for this channel inside Heyy (e.g. “Support Messenger”). You can edit this at any time.
* **Display name**: The name of your Facebook Page as shown to customers. This is read-only and comes from your Page; to change it, update the Page on Facebook.
* **Edit profile on Facebook**: Use the button to open your Facebook Page in a new tab so you can edit the Page profile, profile picture, and other settings on [Facebook](https://www.facebook.com).
## Removing
Disconnecting or deleting a Messenger channel is **irreversible**. Heyy will no longer send or receive messages for that Page. Existing conversations and history for that channel may be lost or no longer accessible. If you might need the data later, export or back up before disconnecting.
To remove a Messenger channel, go to **Settings → Channels**, open the Messenger channel, and use the disconnect or delete option for that channel.
## Use cases
* **Customer support**: Answer questions and resolve issues on Messenger. All chats appear in your [Inbox](/quick-start/inbox).
* **Marketing and follow-up**: Use [campaigns](/quick-start/campaigns) to reach contacts on Messenger, or offer Messenger as a follow-up channel (e.g. from [Live Chat](/channels/live-chat) or your website) so customers can continue the conversation where they prefer.
* **Automations**: Use [Messenger triggers](/quick-start/automations/triggers) and [Facebook actions](/quick-start/automations/facebook-actions) (e.g. send message, wait for reply, quick replies) for welcome flows, qualification, or routing.
* **AI Employees**: Assign an [AI Employee](/quick-start/ai-employees) to handle first-line replies on Messenger 24/7.
Ensure your Facebook Page is published and your [Business Info](https://business.facebook.com/latest/settings/business_info) is complete before connecting. Keep your Page profile and profile picture up to date so customers recognize your brand.
Facebook Messenger lets you handle conversations from your Facebook Page directly in your Heyy [Inbox](/quick-start/inbox). Your customers can message you on Messenger while you use the same [automations](/quick-start/automations/triggers), [AI Employees](/quick-start/ai-employees), [contacts](/quick-start/contacts), and [campaigns](/quick-start/campaigns) as with WhatsApp, Instagram, and Live Chat.
## Requirements
Before you connect, ensure:
* **Admin role**: The user who clicks **Connect** must be an **admin** with access to the Facebook Page you want to connect.
* **Page in Business Portfolio**: The Page must be connected to your [Meta Business Portfolio](https://business.facebook.com). Go to [**Pages** in Business settings](https://business.facebook.com/latest/settings/pages) and confirm the Page is listed there. If the Page is not in your Business Portfolio, add it before starting the onboarding flow.
## Connecting
1. Go to **Settings → Channels** in your Heyy dashboard.
2. Click **Add Channel**.
3. Select **Facebook** (Messenger).
4. Click **Connect** in the dialog.
Clicking **Connect** opens **Meta’s Facebook Messenger onboarding flow**. You’ll be asked to sign in with Facebook (if needed) and to authorize Heyy to manage messaging for your Facebook Page. Complete the flow in the window that opens. When authorization succeeds, Heyy creates the channel and the dialog closes. Your Messenger channel then appears in **Settings → Channels**.
### About Meta’s onboarding flow
Heyy uses [Login Connect with Messenger](https://developers.facebook.com/docs/facebook-login/login-connect/) so you can connect your Facebook Page to Heyy in one step. During the flow, Meta may ask you to:
* Sign in to Facebook or confirm your account.
* Choose the **Facebook Page** you want to connect (you must have admin or appropriate access to that Page).
* Grant Heyy permission to send and receive messages on behalf of that Page.
For more on the Messenger Platform and requirements (e.g. Page, app, permissions), see Meta’s documentation:
* [Messenger Platform overview](https://developers.facebook.com/docs/messenger-platform/overview/)
* [Messenger Platform getting started](https://developers.facebook.com/docs/messenger-platform/getting-started/quick-start/)
* [Login Connect with Messenger](https://developers.facebook.com/docs/facebook-login/login-connect/)
If the connection fails or you don’t see your Page, check that your [Meta Business Portfolio](https://business.facebook.com) and [Business Info](https://business.facebook.com/latest/settings/business_info) are complete, and that you have the right role on the Page. For help, [contact Heyy support](https://heyy.io/contact-us).
## Editing
Open the channel from **Settings → Channels** and use the **Profile** tab.
### Profile
* **Internal name**: A label for this channel inside Heyy (e.g. “Support Messenger”). You can edit this at any time.
* **Display name**: The name of your Facebook Page as shown to customers. This is read-only and comes from your Page; to change it, update the Page on Facebook.
* **Edit profile on Facebook**: Use the button to open your Facebook Page in a new tab so you can edit the Page profile, profile picture, and other settings on [Facebook](https://www.facebook.com).
## Removing
Disconnecting or deleting a Messenger channel is **irreversible**. Heyy will no longer send or receive messages for that Page. Existing conversations and history for that channel may be lost or no longer accessible. If you might need the data later, export or back up before disconnecting.
To remove a Messenger channel, go to **Settings → Channels**, open the Messenger channel, and use the disconnect or delete option for that channel.
## Use cases
* **Customer support**: Answer questions and resolve issues on Messenger. All chats appear in your [Inbox](/quick-start/inbox).
* **Marketing and follow-up**: Use [campaigns](/quick-start/campaigns) to reach contacts on Messenger, or offer Messenger as a follow-up channel (e.g. from [Live Chat](/channels/live-chat) or your website) so customers can continue the conversation where they prefer.
* **Automations**: Use [Messenger triggers](/quick-start/automations/triggers) and [Facebook actions](/quick-start/automations/facebook-actions) (e.g. send message, wait for reply, quick replies) for welcome flows, qualification, or routing.
* **AI Employees**: Assign an [AI Employee](/quick-start/ai-employees) to handle first-line replies on Messenger 24/7.
Ensure your Facebook Page is published and your [Business Info](https://business.facebook.com/latest/settings/business_info) is complete before connecting. Keep your Page profile and profile picture up to date so customers recognize your brand.